Introduction to Medieval Armor
Welcome to the world of medieval armor! If you’re a fan of the knightly era, you probably know the importance of a good suit of armor. But do you know what all the parts of a knight’s armor are called? In this guide, we’ll take a closer look at medieval armor parts and their roles on the battlefield.
The Importance of Armor in Medieval Times
Back in medieval times, armor wasn’t just about looking cool (although we have to admit, it does). It was literally the difference between life and death on the battlefield. A knight’s suit of armor was his best friend, protecting him from swords, arrows, and all kinds of other unpleasant medieval weaponry.
Armor was also a status symbol. The more intricate and well-made your armor, the higher your status was likely to be. Armor was often adorned with intricate designs, symbols, and sometimes even gilded with gold! If you’re interested, you can learn more about medieval armor decoration in our dedicated article.
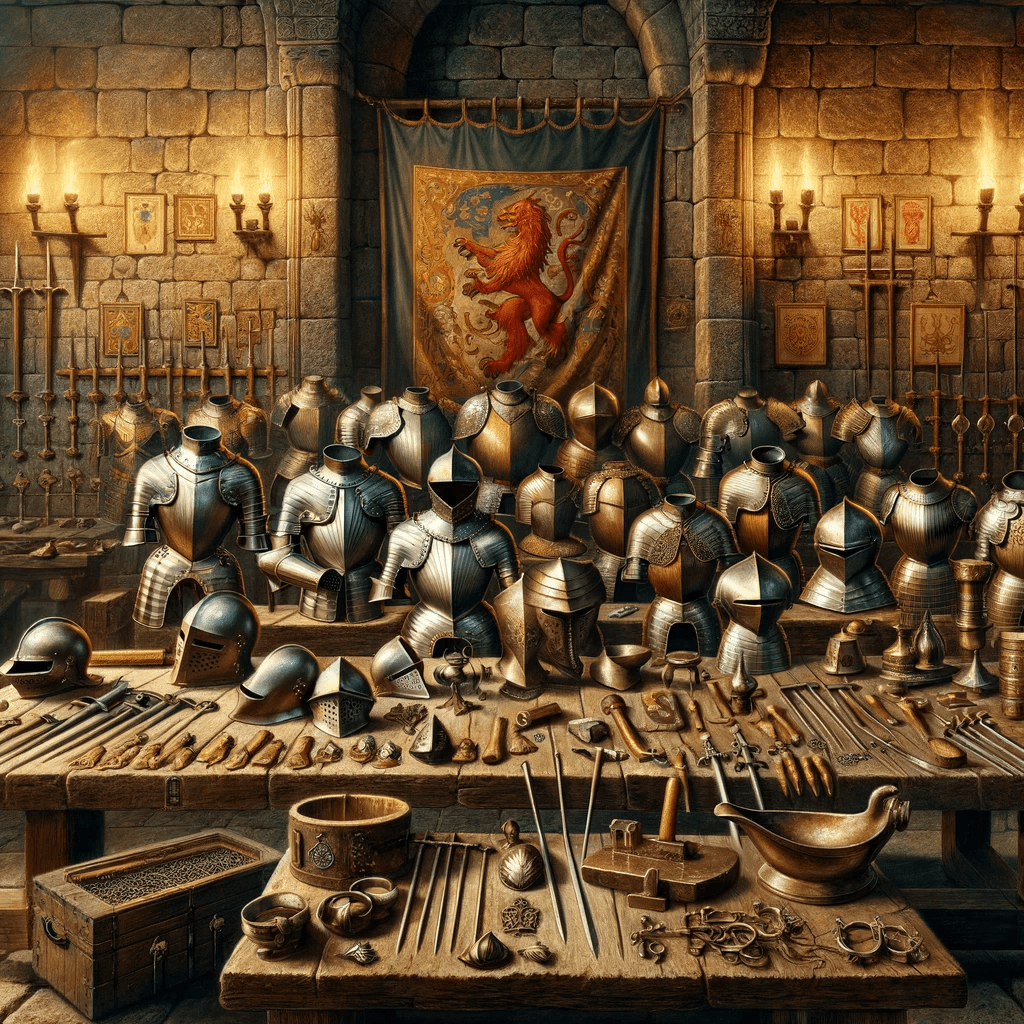
Overview of Medieval Armor Parts
So, what are the main parts of a suit of armor? Let’s break it down:
- Helmet: This important piece of armor protected the knight’s head.
- Coif: A chainmail hood worn under the helmet for added protection.
- Breastplate and Backplate: These were the main pieces of armor covering the torso.
- Faulds and Tassets: These protected the lower torso and upper legs.
- Pauldrons: These were the armor pieces covering the shoulders.
- Rerebrace, Vambrace, and Cowter: These made up the arm armor.
- Cuisses, Poleyns, and Greaves: These were the parts protecting the legs.
- Sabatons: Armor for the feet.
- Shield: An essential part of a knight’s defense.
- Chainmail: A type of armor made from interlocked metal rings.
Each of these parts played a crucial role in protecting the knight from harm. And each part was carefully designed and crafted to ensure maximum protection while allowing the knight to move and fight effectively. If you’re interested in going further into the specifics, check out our articles on medieval helmet parts and medieval breastplate parts.
Keep in mind that this is a basic overview, and the exact components of a suit of armor could vary based on factors like the period, region, and the specific types of medieval armor used.
Stay tuned as we delve deeper into the fascinating world of medieval armor parts in the sections that follow!
Armor for the Head
The head, being one of the most vital parts of the body, was a primary focus of protection in medieval armor design. Two key medieval armor parts that served this purpose were the helmet and the coif.
Helmet
The helmet is perhaps the most iconic component of a knight’s armor. It was designed not only to protect the head from direct blows but also to deflect blows away from other critical areas of the body. Helmets varied greatly in design based on the period, region, and specific battlefield requirements.
Typically, medieval helmets were made from iron or steel and consisted of several parts, such as the skull (top part), visor (movable front part), and bevor (chin and neck guard). Some helmets even had additional features like a crest for identification or decoration. For a more detailed look at the different parts of a medieval helmet, check out our article on medieval helmet parts.
| Helmet Type | Description |
|---|---|
| Great Helm | A heavy helmet with a cylindrical shape, providing full head coverage |
| Bascinet | A helmet with a pointed top and visor, often worn with a mail coif |
| Armet | A close-fitting helmet that covered the entire head and neck, popular in the 15th century |
Coif
The coif was another essential piece of head armor, particularly during the early medieval period. It was a type of cap, usually made from chainmail, that covered the head, neck, and shoulders, leaving only the face exposed. The coif was often worn under the helmet for additional protection, especially against downward strikes to the neck and shoulders.
Chainmail coifs were typically made from interlocking metal rings, creating a flexible yet durable barrier against enemy attacks. The design of the coif allowed it to be easily adjusted for a more comfortable fit, making it a practical addition to a knight’s armor.
| Coif Type | Description |
|---|---|
| Chainmail Coif | A cap made from interlocking metal rings, covering the head, neck, and shoulders |
| Padded Coif | A cloth cap worn under the helmet or chainmail coif for added comfort and protection |
The helmet and coif were crucial elements of a knight’s armor, offering much-needed protection in the heat of battle. Understanding these components helps to paint a more complete picture of the complexities and intricacies of medieval armor. Now that we’ve covered the head, let’s move on to the other parts of a knight’s armor, starting with the breastplate.
Armor for the Body
Armor for the body was crucial in protecting the vital organs of a knight. The breastplate, backplate, and faulds and tassets played a significant role in this. These medieval armor parts were designed to provide maximum protection while still allowing for movement.
Breastplate
The breastplate was a vital piece of armor, designed to protect your chest region from enemy blows. Typically made of steel, this piece of armor was contoured to your body. It had to be robust enough to deflect a blow, yet flexible enough to allow for movement in combat.
Craftsmen often added a ridge or a crest, known as a tapul, to the breastplate to deflect blows away from your heart. The breastplate was also designed to distribute the force of a blow across a larger area, reducing the potential for injury. For more on breastplate design, check out our article on medieval breastplate parts.
Backplate
Just as the breastplate protected your chest, the backplate was designed to shield your back. It was typically made from a single piece of metal and was contoured to fit your spine and shoulder blades. The backplate was often attached to the breastplate with leather straps to ensure it stayed in place.
Faulds and Tassets
Faulds and tassets were pieces of armor designed to protect your waist and upper thighs. Faulds were bands of metal that hung from the bottom of the breastplate, while tassets were similar bands that hung from the faulds to offer additional protection to your thighs.
Remember, each piece of armor had to work in harmony with the rest to protect you from head to toe. While the design and function of each component might have varied, the ultimate goal was the same – to keep you safe in battle. Discover more about the different medieval armor types to get a better understanding of how each piece of armor played its part.
Armor for the Arms
The armor of a medieval knight was not just about a shining breastplate and helmet. The arms, being essential for the knight’s defense and attack, were also covered with several medieval armor parts. Let’s dive into the specifics of arm protection, focusing on pauldrons, rerebrace, vambrace, and cowter.
Pauldrons
Starting from the shoulder, we have the pauldrons. These are the large, rounded pieces of armor that cover your shoulders. They played a vital role in protecting the upper arm and shoulder joint, an area susceptible to strikes during combat.
Pauldrons were typically made from several overlapping plates, allowing for a good range of movement while offering robust protection. They were generally attached to the breastplate and backplate and could extend to cover part of the chest and back for additional protection.
Remember, the effectiveness of a pauldron didn’t just rely on its size or shape but also on the quality of the material used. If you’re interested in learning more about what these pieces were made of, check out our article on medieval armor materials.
Rerebrace, Vambrace, and Cowter
Moving down the arm, we encounter the rerebrace, vambrace, and cowter. These are the sections of the armor that cover your upper arm, lower arm, and elbow, respectively.
The rerebrace served to protect your upper arm. Like the pauldron, it was typically constructed from several overlapping plates to allow flexibility and movement.
The vambrace was the part of the armor that shielded your lower arm. It was usually made up of two pieces of metal, joined at the outside of the arm, with a hinge on one side and a clasp or buckle on the other.
The cowter, or elbow cop, was a rounded piece that covered your elbow. The elbow was a vital joint to protect, and the cowter was often articulated to allow for movement.
| Armor Part | Location |
|---|---|
| Pauldrons | Shoulders |
| Rerebrace | Upper arm |
| Vambrace | Lower arm |
| Cowter | Elbow |
These elements were all vital parts of the arm’s defense. They were designed to be sturdy, yet flexible enough to allow for the wide range of movements required in battle.
Understanding the various medieval armor parts gives you a better appreciation of the thought that went into designing these protective gear pieces. Each piece had a role in protecting the knight, from the pauldrons that covered the shoulders down to the cowter protecting the elbow. It’s a testament to the ingenuity and practicality of medieval armorers. For more on this fascinating topic, explore our article on medieval armor types.
Armor for the Legs
Now, let’s move down to the legs. To protect a knight’s legs, we’ve got a few different medieval armor parts to learn about: the cuisses, poleyns, and greaves. And let’s not forget the sabatons for the feet!
Cuisses, Poleyns, and Greaves
The cuisses were the armor for a knight’s thighs. Usually made of steel plates, they were designed to protect the upper legs.
Just below the cuisses, you’d find the poleyns. These covered and protected the knees. They were typically rounded and included articulations to allow for knee movement.
Lastly, the greaves protected the lower legs, from the knees to the ankles. They were typically formed to the leg and closed by straps and buckles.
These components of leg armor were essential in providing protection while maintaining mobility. Knights needed to be able to mount and dismount their horses, walk, and even run, all while wearing these heavy metal pieces.
| Leg Armor Part | Area Covered |
|---|---|
| Cuisses | Thighs |
| Poleyns | Knees |
| Greaves | Lower legs |
Sabatons
Moving on to the feet, we have the sabatons. These parts of the armor were designed to cover the foot. They were often pointed and made of articulated lamés for increased mobility.
Sabatons were typically made of steel and were designed to protect the top of the foot. Some sabatons also included a solid piece that covered the sole of the foot, but this was less common as it could make walking more difficult.
| Foot Armor Part | Area Covered |
|---|---|
| Sabatons | Feet |
A knight’s legs were just as important to protect as the rest of his body, and these pieces of armor were ingeniously designed to do just that. For more information about different types of medieval armor, head on over to our article on medieval armor types.
The Shield
When you think about medieval armor parts, the shield is probably one of the first things that come to your mind. And why shouldn’t it be? It’s not just a piece of defensive gear, but it’s also a knight’s personal billboard, flaunting his crest, colors, and allegiances.
The Role and Importance of the Shield
In the brutal combat of the medieval battlefield, a shield was more than a piece of equipment. It was a literal lifesaver. Used correctly, a shield could deflect the crashing blow of a sword, the piercing thrust of a spear, or the deadly aim of an arrow.
But a shield was more than just a big, sturdy piece of wood or metal. It was a complex piece of defensive technology, designed to give the wielder a significant advantage in battle. A well-made shield could help a knight keep his balance, parry blows, and even make attacks of his own.
Shields also had a psychological role in battle. Imagine the intimidation you’d feel, seeing a wall of shields charging towards you, each one emblazoned with a different crest or coat of arms. They were a symbol of unity, fear, and power.
Different Types of Medieval Shields
Just like everything else in the medieval era, shields weren’t one-size-fits-all. There were several types of shields, each designed for a specific purpose or style of combat. Let’s take a look at a few of them.
Heater Shield: This was the classic “knight’s shield.” It was shaped like the bottom of a flat iron (hence the name), with a pointed bottom and curved top. Heater shields were usually made of wood, covered with leather, and sometimes reinforced with metal.
Kite Shield: These large, teardrop-shaped shields were designed to protect the knight’s entire body, from shoulders to shins. Kite shields were especially popular in the early Middle Ages.
Buckler: A buckler was a small, round shield, usually between 12 and 18 inches in diameter. It was often used in one-on-one combat, where its small size could be used to deflect attacks and create openings for counterattacks.
Pavise: These large, rectangular shields were used by crossbowmen. They were designed to be planted in the ground, providing cover while the crossbowman reloaded.
| Type of Shield | Shape | Size | Common Usage |
|---|---|---|---|
| Heater Shield | Flat iron shape | Medium | Knights |
| Kite Shield | Teardrop shape | Large | Early Middle Ages Knights |
| Buckler | Round | Small (12-18 inches) | One-on-one combat |
| Pavise | Rectangular | Large | Crossbowmen |
So, next time you’re exploring the fascinating world of medieval armor parts, don’t forget to give shields their due. They’re more than just a knight’s arm candy, they’re a critical part of his defense strategy. Want to dive deeper into the world of medieval armor? Check out our articles on medieval armor types and medieval armor materials.
The Chainmail
One of the most iconic medieval armor parts is the chainmail. Often overlooked in favor of more robust pieces like the breastplate or helmet, the chainmail played a vital role in a knight’s defense.
The Role of Chainmail
The chainmail, or mail, was essentially a type of armor made up of small metal rings linked together in a pattern to form a mesh. This flexible armor was often worn over a padded garment to protect the knight from cutting attacks and stabbing blows. Chainmail could absorb and distribute the force of a blow, preventing or minimizing injury.
While the heavier plate armor was more effective at preventing direct blows from swords and axes, chainmail had the advantage of flexibility. It allowed the knight to move more freely, a crucial factor in the heat of battle. Chainmail was typically used to protect areas that needed more flexibility, such as the neck, elbows, and knees.
For a deeper dive into the various types of armor used in the medieval period, check out our article on medieval armor types.
How Chainmail is Made
Creating chainmail was a labor-intensive process. It began with the blacksmith winding a long piece of wire around a rod to create a spiral. This spiral was then cut along one side, creating a series of rings. These rings were then individually woven together to create the mesh structure that forms the chainmail.
The traditional pattern for making chainmail is known as “four in one.” This means that each ring is connected to four others. It’s this pattern that gives chainmail its flexibility and strength.
| Steps to Make a Chainmail | Description |
|---|---|
| Step 1 | Wind a long piece of wire around a rod to create a spiral. |
| Step 2 | Cut the spiral along one side to create a series of rings. |
| Step 3 | Weave the rings together to create the chainmail mesh. |
| Step 4 | Follow the “four in one” pattern for linking the rings. |
The intricate nature of chainmail meant it was time-consuming to make, and therefore, it was often quite expensive. However, its role in protecting a knight in battle made it a vital piece of the medieval armor set.
If you’re interested in learning more about the fascinating world of medieval armor, our articles on medieval helmet parts, medieval armor materials, and medieval armor decoration offer a wealth of knowledge.
Armor Maintenance
Just like any other piece of equipment, medieval armor parts needed regular maintenance to ensure they remained in top shape. In this section, we’ll delve into how to keep armor in optimal condition and tackle some of the challenges that came with maintaining these intricate pieces.
Keeping Armor in Top Shape
To keep your armor shining and ready for battle, regular cleaning was essential. Accumulated dirt and rust could hinder its performance and overall lifespan. Here’s a simplified maintenance routine:
- Cleaning: Remove any dirt or debris from the armor using a soft cloth. Avoid using harsh chemicals or abrasive materials that could damage the surface.
- Polishing: Once the armor was clean, it was time to polish. Using a gentle metal polish, you could bring out the shine and keep your armor looking its best.
- Oil Application: Lastly, a light coat of oil helped prevent rusting. This was especially important for pieces made from iron or steel, materials prone to oxidation.
Remember, each piece of armor, from the helmet to the breastplate, had its own specific maintenance needs depending on the material it was made from. Check out our article on medieval armor materials to learn more.
Challenges and Solutions in Armor Maintenance
Maintaining medieval armor wasn’t without its challenges. The intricate designs and different materials used in crafting these pieces meant that each part required specialized care.
One of the main challenges was rusting. Iron and steel, commonly used in armor crafting, were prone to rust if exposed to moisture. The solution? Regular oiling helped to create a barrier against moisture and prevent rust.
Another challenge was damage and wear. Over time, the armor parts could become worn out or damaged from use. Regular inspections and minor repairs could help to keep the armor functional for longer. For more serious damage, a skilled armorer would be needed.
Lastly, the complexity of designs posed a challenge. Some armor parts, such as the gauntlets, had intricate designs that could be difficult to clean and maintain. Using specialized tools and gentle cleaning methods helped to keep these parts in good condition without causing damage.
Understanding the challenges and solutions in armor maintenance can give you a deeper appreciation of the effort and care that went into keeping these medieval armor parts in top shape. And who knows, it might even inspire you to explore more about medieval armor decoration!